INX Sitepass
INX InForm
INX Preserve
INX Assessor
INX InControl
INX InHealth
INX InTuition
INX InFlight
INX SAM Suite
INX Cortex
Release notes
Our 2024 starts with partnership and evolution
Jaimie Godden, Chief Sales & Marketing Officer The first quarter of 2024 has raced by for the team at INX Software, as it likely has for most...
Bringing order to chaos: Solving scheduling woes with INX SAM Suite
In the fast-paced world of remote and high-risk workforces, solving FIFO logistics challenges with a solid travel plan is crucial for...
INX Preserve brochure
A safe and healthy workplace is a positive and productive workplace
People often see so many barriers to being health and safety compliant that they don’t even know where to begin. The problem of meeting safety and...
INX Software: What’s in store in 2024
Jaimie Godden, Chief Sales & Marketing Officer As we step into 2024, I wanted to take a moment to express our gratitude for your continued...
2023: A year of transformation
2023 has been a busy and exciting year for INX Software as we’ve evolved our brand, enhanced our software solutions, and pursued global...
INX InTuition-Moodle LMS integration brochure
Why good business practice starts with earning client trust
Jaimie Godden, Chief Sales & Marketing Officer In the tech sector, the relentless pursuit of new accounts often overshadows the nurturing of...
Canny process update
We are dedicated to bringing you the best INX Software experience in all your interactions with our business. We listen so we can understand your...
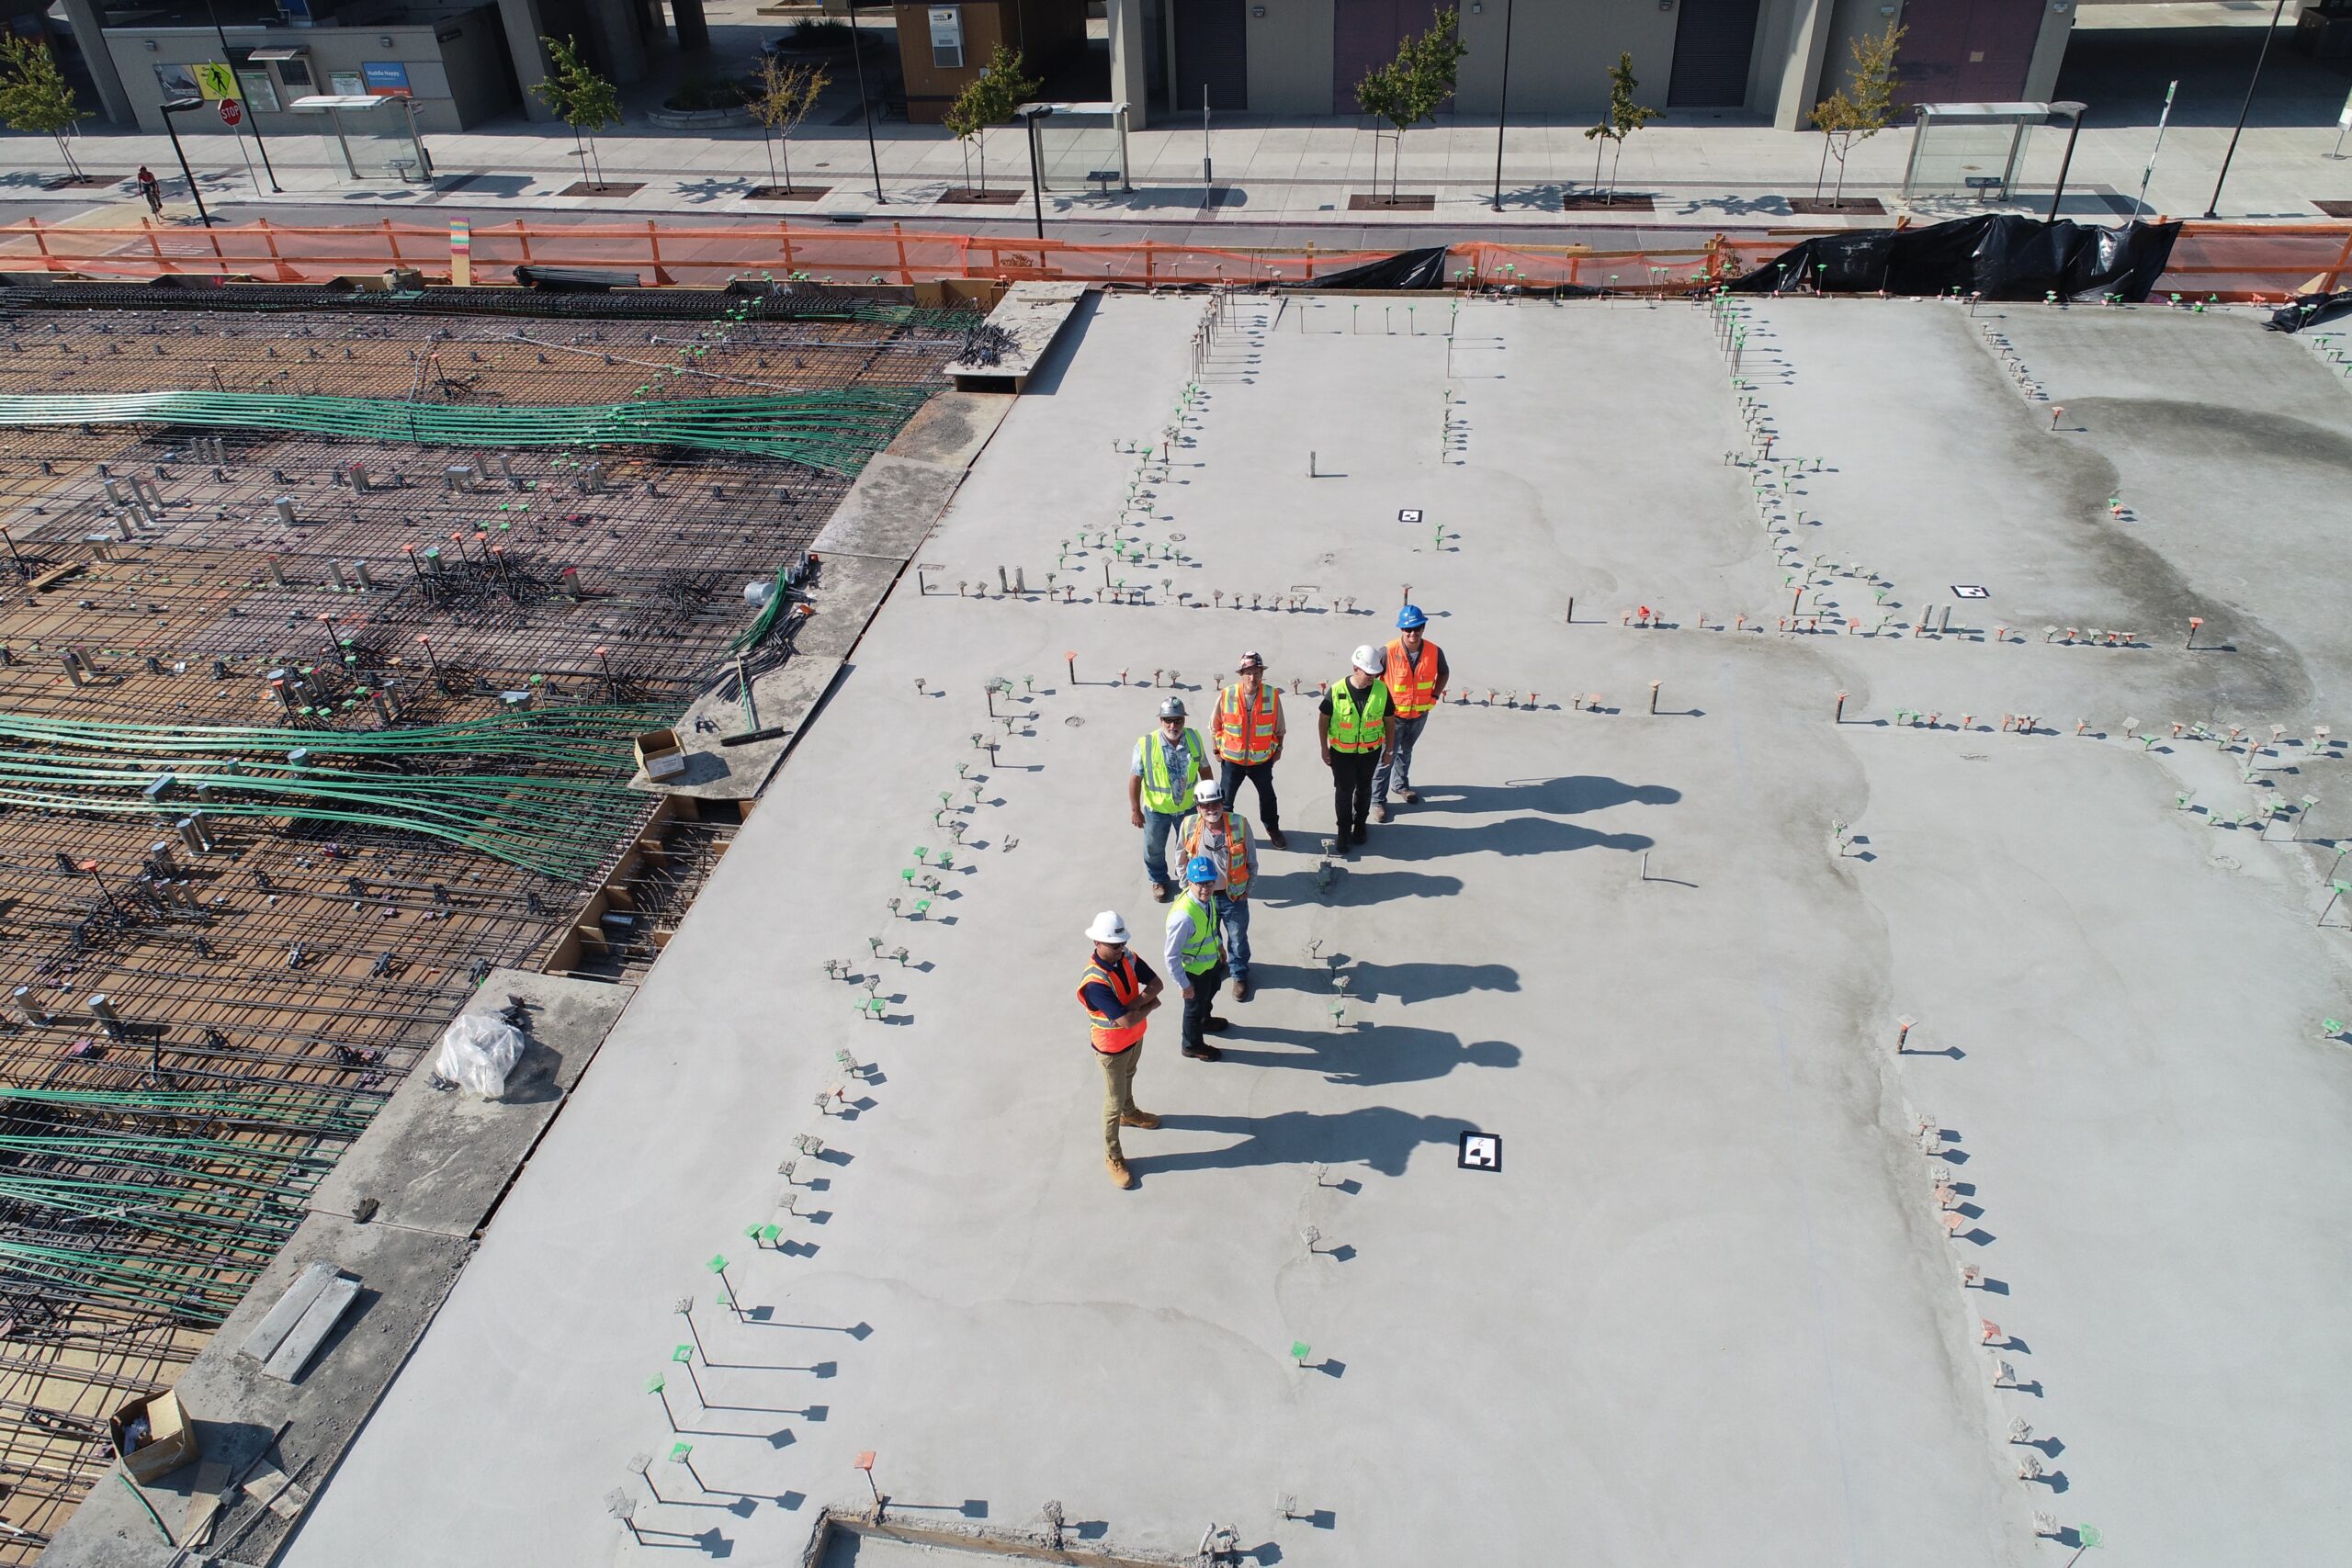
Capturing environmental data in remote areas just got easier with the INX Preserve mobile app
The importance of tracking, monitoring and reporting on your company’s environmental impact is well known — but the practical steps needed to...
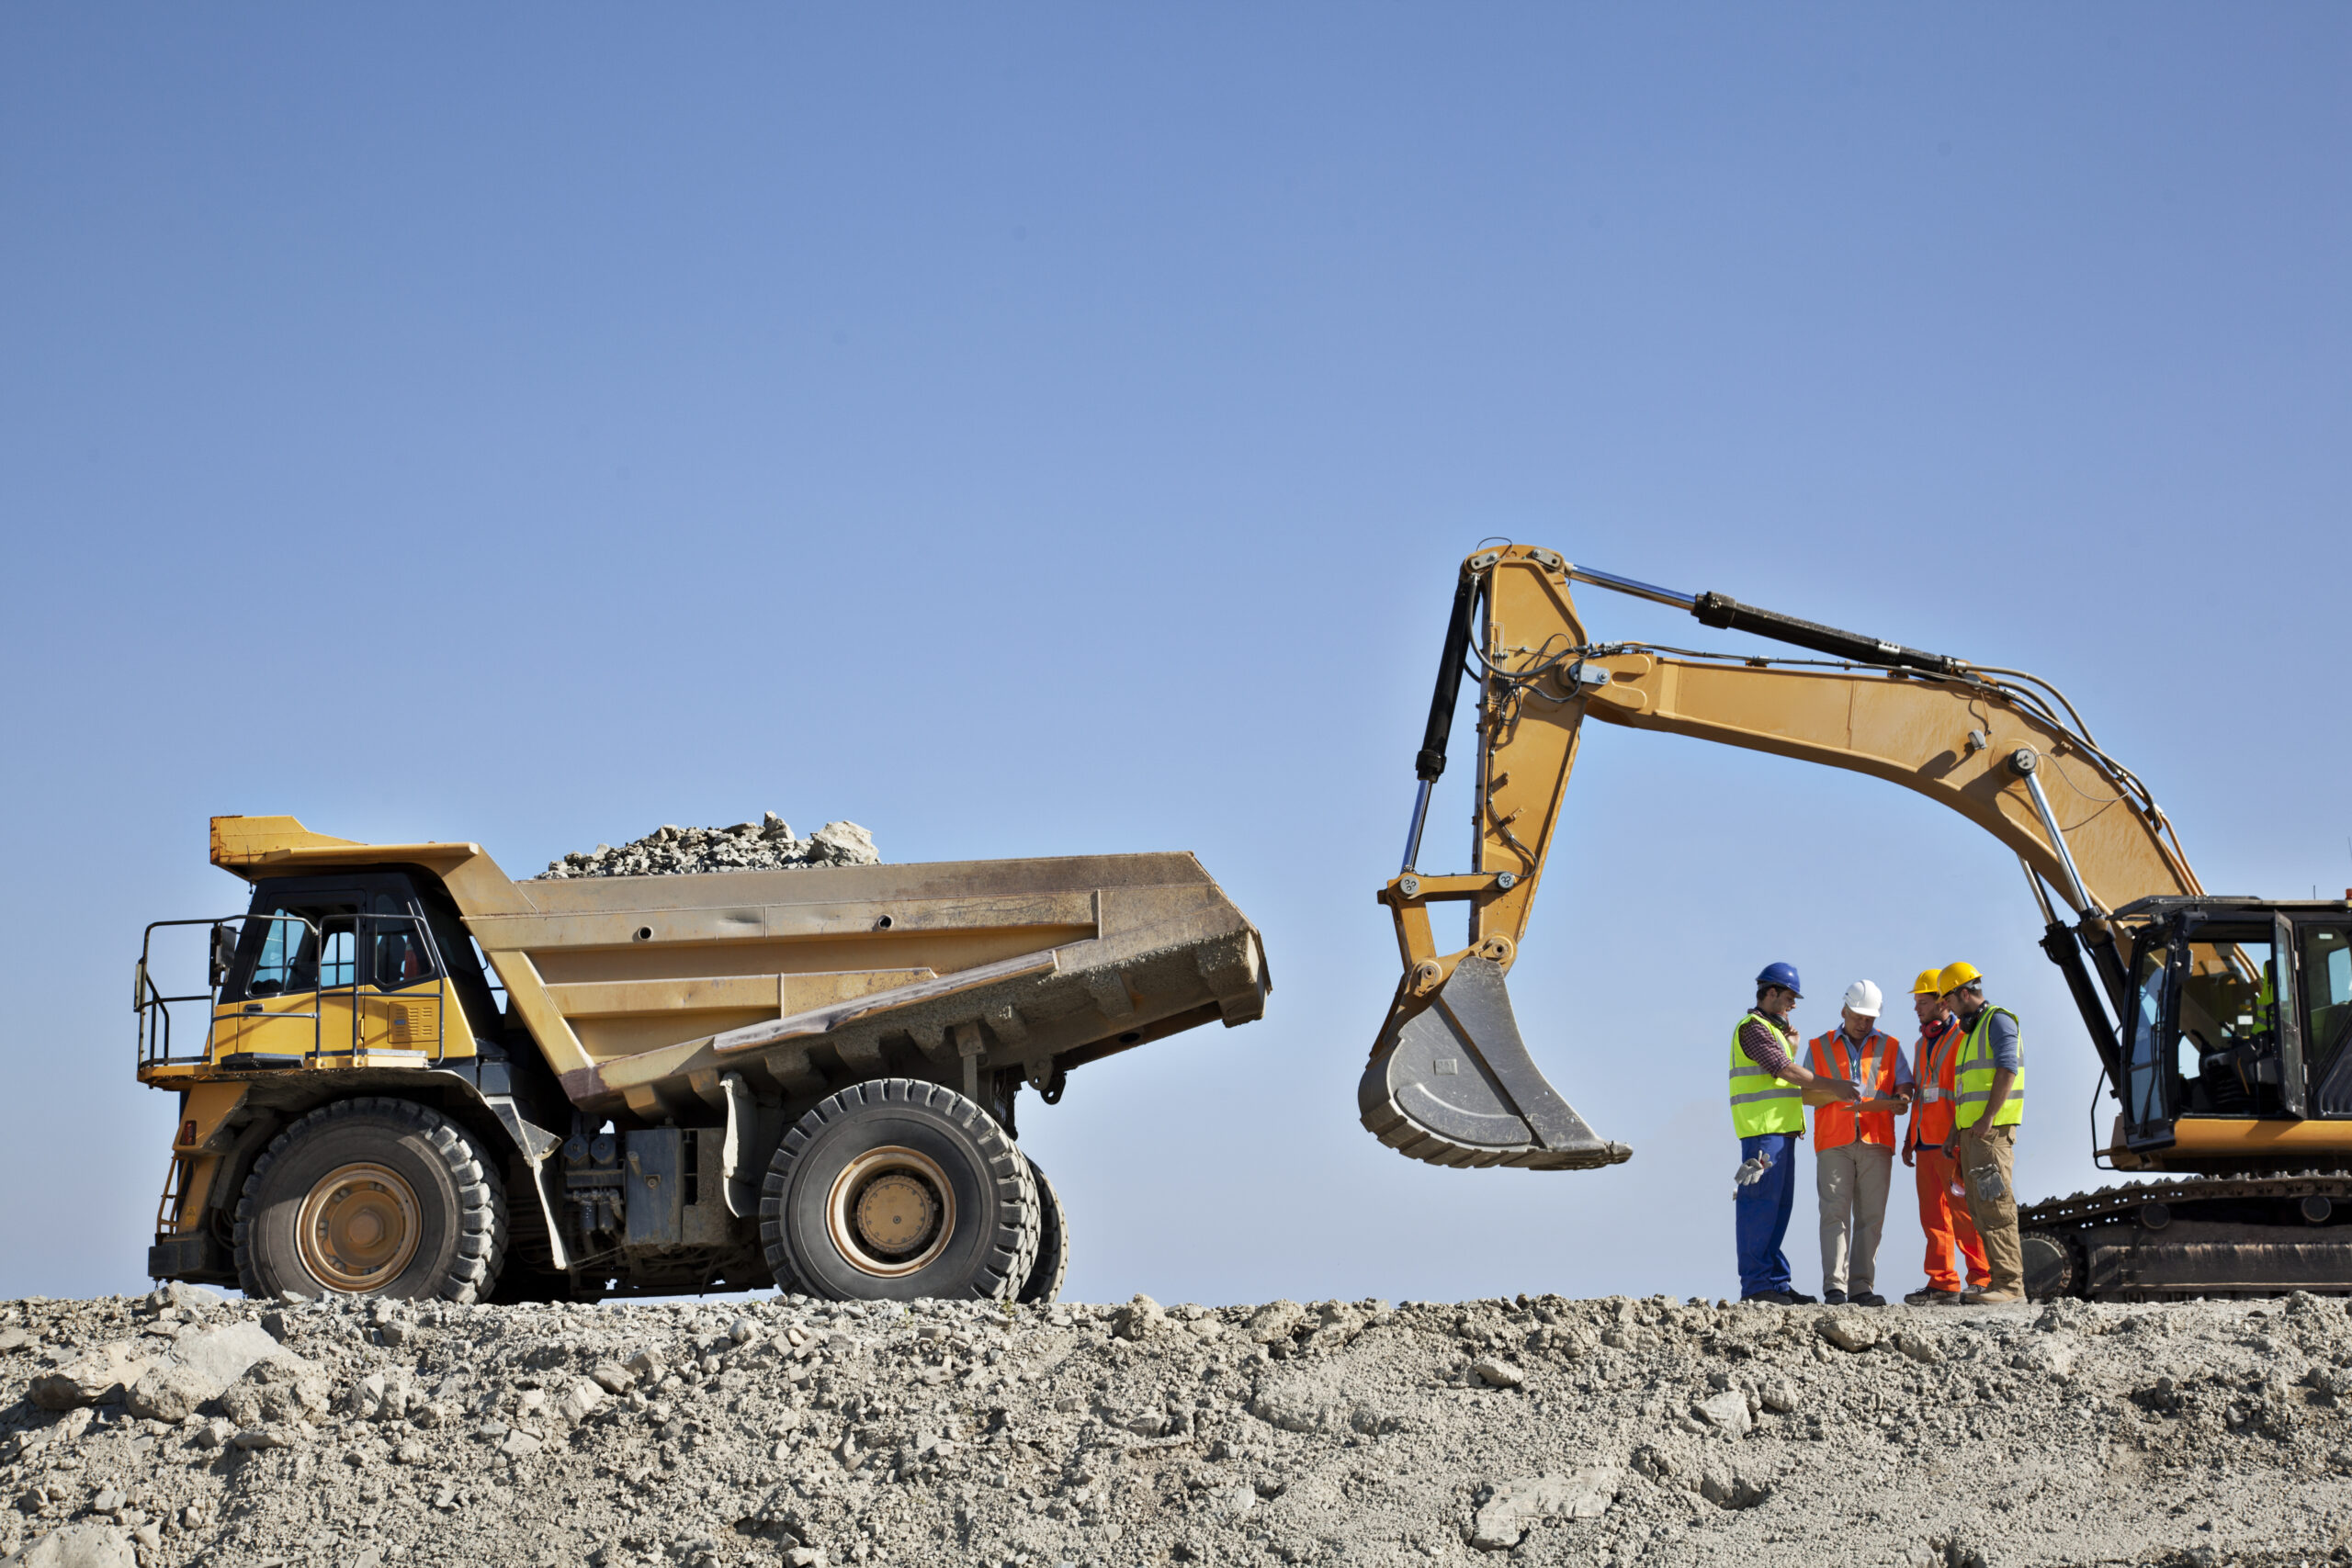
How smarter software can save time and streamline workforce mobilisation
Managing your workforce shouldn’t be like planning a family holiday. For anyone coordinating a trip for a small group of people, keeping a...
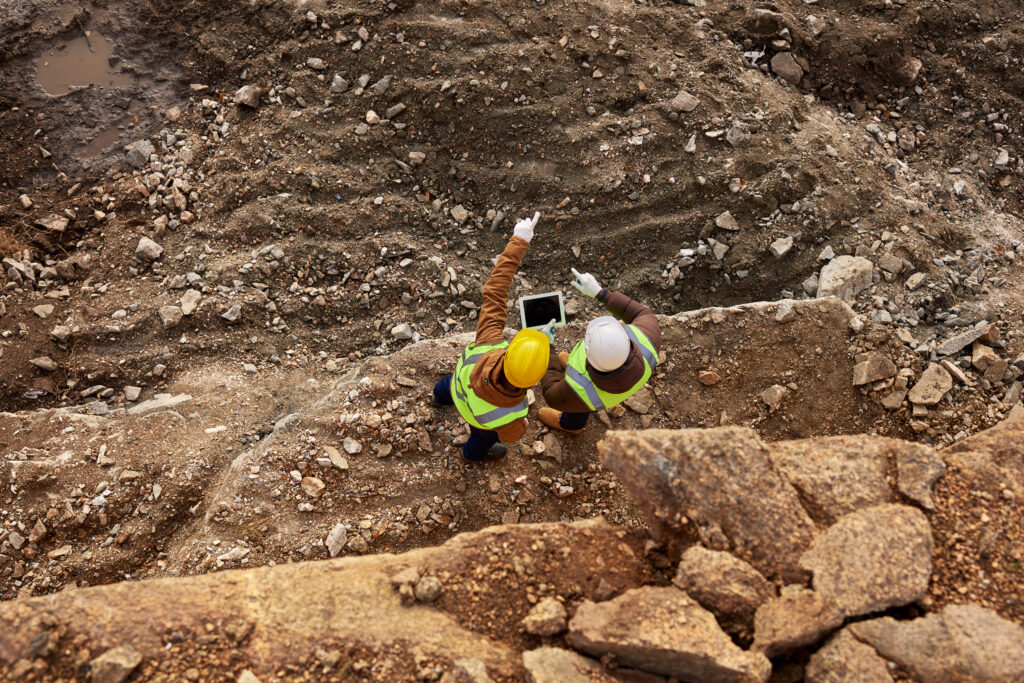
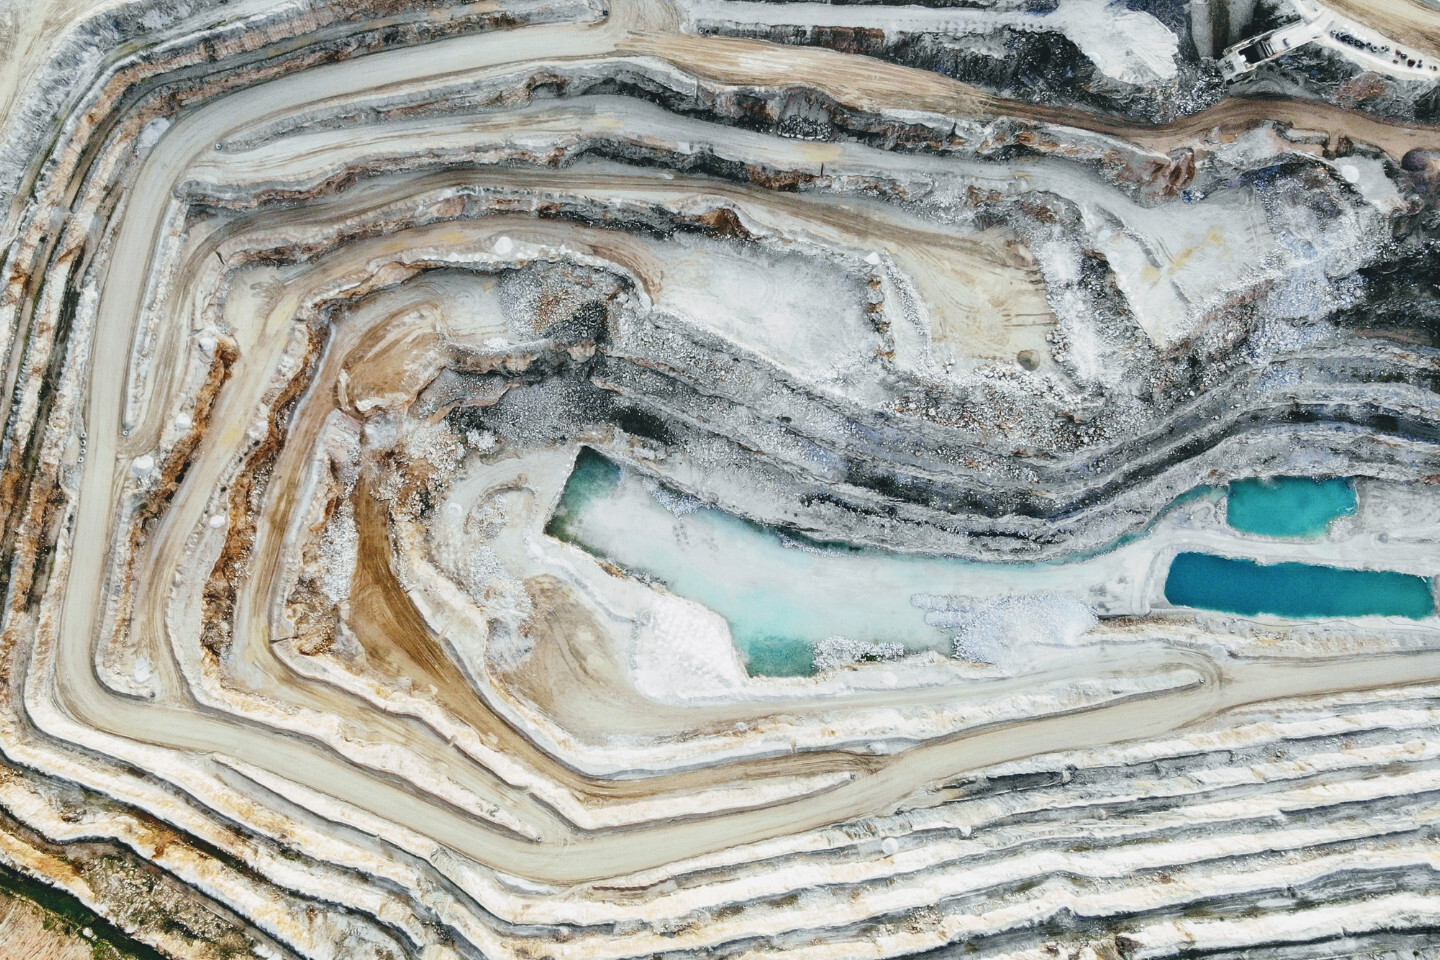
WA’s mining regulators are on notice — which means miners are as well
With a third of Australia’s landmass, and eight of its 15 biodiversity hotspots, Western Australia has good reason to prioritise the protection of...